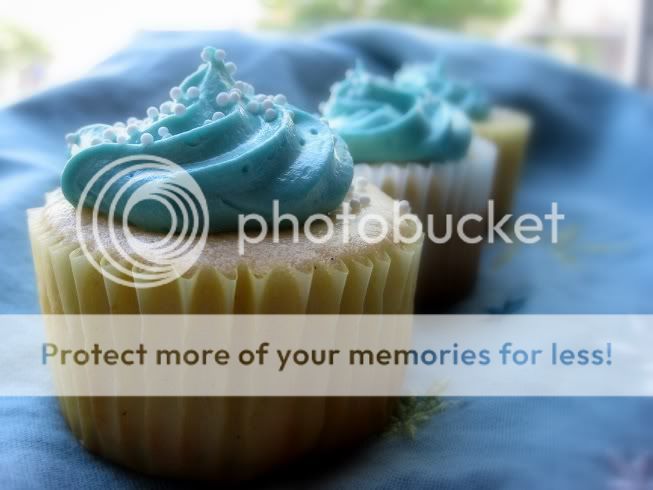
Since I made my Vanilla Bean Ice Cream a few weeks ago, I had one lonely vanilla bean lying around in my kitchen, just waiting for a worthy recipe to come along – when I saw this cupcake recipe on Annie’s Eats that sounded fantastic and decided to give it a whirl! Happily, I had a big end-of-year picnic coming up for work which was about the perfect occasion to make a bunch of cupcakes without my husband and I having to eat them all. There are not words for how fantastic this recipe came out – the batter was thick and creamy and the cake is light and moist. I frosted them with a plain vanilla buttercream frosting – usually I shy away from buttercreams, as I find them a bit too rich for most of my recipes – but it accented the vanilla cake really well. This was also my first adventure with gel food coloring in my frosting – a bit of advice, a little goes a LONG way! I used about 1/4 tsp to color this entire batch of frosting! (I used Teal, btw.) Also, a plug for my favorite decorating device – The Pampered Chef makes an amazing decorating gun – looks a little like you should be using it to caulk a window frame or something, but it is incredibly easy to use and makes my baked goods like professional in no time flat.

Vanilla Bean Cupcakes – from Annie’s Eats
3 cups cake flour
1 tbsp. baking powder
½ tsp. salt
1 vanilla bean, sliced lengthwise
16 tbsp. unsalted butter, at room temperature
2 cups sugar
5 large eggs, at room temperature
1¼ cups buttermilk, at room temperature
1 tbsp. vanilla extract
Preheat oven to 350° F. Prepare cupcake pans with paper liners. Set aside. In a large bowl, whisk together the flour, baking powder, and salt. Take your vanilla bean halves and scrape the pods to remove the beans – save the pod to make vanilla sugar later – but that’s for a different post.) Add the butter and the vanilla beans to the bowl of your trusty stand mixer (fitted with the paddle attachment – or, if you have one a bowl-scraping paddle attachment which is the best kitchen investment I’ve made this year), and beat on meadium speed until the mixture starts to appear light and fluffy; about 2-3 minutes. If you don’t have a paddle attachment that scrapes for you, scrape down the sides of the bowl and beat for about another minute to ensure adequate mixing. Add the sugar gradually, 1/4 cup at a time, beating for about a minute after each addition. Add the eggs, one at a time, beating after each addition until the egg is incorporated. (Scrape down the bowl between additions here too!) In a large measuring cup, mix the buttermilk and vanilla together. As your mixer continues to run on low speed, gradually add the dry ingredients and the liquid ingredients to the butter mixture - alternating between each, and beginning and ending on the dry. Scrape down the sides again to make sure everything is well incorporated and mix for about 15 seconds longer – be careful not to overmix! Place the batter into the prepared cupcake pans, filling each liner about 2/3 of the way – this batter is quite thick, so try to get all the bubbles out of the bottom of the cups when you fill them! Bake for 18-20 minutes or until an inserted toothpick comes out clean. Cool completely and frost as desired – enjoy!!
Vanilla Buttercream Frosting – also, from Annie’s Eats
20 tbsp. (2 ½ sticks) unsalted butter, softened
2 ½ cups confectioners’ sugar, sifted
1/8 tsp. salt
2 tsp. vanilla extract
2 tbsp. milk
Add the softened butter to your stand mixer bowl and beat on medium high for about 30 seconds or until smooth. Add the sugar and salt and mix to incorporate – start slow or else your entire kitchen will be covered in powdered sugar! When the sugar has been completely incorporated (you will probably have to scrape down the sides to get this accomplished), add the vanilla and milk – mix on low for 10-15 seconds. If you’re planning to use food coloring, this is when to add it! Increase the speed to high and beat for 4-5 minutes, or until light and fluffy appearing. Frost away!


[...] first, it cuts down on waste. When you use a vanilla bean, most recipes (such as my recent vanilla bean cupcake recipe) direct you to slice the pod in half and remove the seeds – often times, the pod [...]
Hello,
Nice information about Vanilla:-)