Archive for the ‘Ice Cream/Sorbet’ Category

Pineapple Sorbet

Monday, August 3rd, 2009

Pineapple Sorbet

Looking for a quick, light and refreshing way to beat the summer heat? This Pineapple Sorbet from David Lebovitz’s The Perfect Scoop is the easiest and cheapest recipe that I have come across for my ice cream maker. The original recipe suggests using a fresh pineapple, but canned pineapple (unsweetened and packed in juice) will do the trick! Using canned pineapple, I whipped up the base for chilling in a matter of minutes.

While the original recipe only included pineapple, sugar and water, I opted to add some Captain Morgan spiced rum (2 teaspoons). Inhaling the aroma of the unfrozen concoction conjured up images of lounging in the sun in a tropical paradise, but the rum flavor was more subdued once frozen. Next time, I think I’ll double the amount of rum and add a total of 1 tablespoon.

The finished product is heavenly. The pureed pineapple lends a nice body to the sorbet, so it is not icy and can be easily scooped right from the freezer. It has a light, sweet taste and while not super-low-calorie, is far friendlier to the waistline than it’s cream-laden counterparts.

Pineapple Sorbet

Yields about 3 cups

1/2 pineapple, peeled and cored OR 1 can of pineapple (unsweetened, packed in juice)
8 to 10 tbsp sugar
1/2 cup water
1 tbsp. spiced rum (Captain Morgan is a household favorite!)

1. Cut the pineapple into chunks and puree in a blender OR puree canned pineapple.
2. Remove pineapple puree and return only two cups to the blender.
3. Add sugar, water and rum and blend well.
4. Chill the mixture thoroughly before freezing in ice cream maker according to manufacturer’s directions.

Moose Tracks Ice Cream

Saturday, June 20th, 2009

Selecting an ice cream that the whole family likes has always been a bit of a challenge when planning birthday celebrations. Some family members are fans of mix-in laden ice cream, while others are purists, preferring a rich vanilla or delicate mocha. Years ago, I went grocery shopping with my mother to pick up what we needed for my father?s birthday dinner. As I pulled a pint of Brigham?s Cookies and Cream ice cream from the freezer case, my mother stated ?Your brother doesn?t like cookies and cream.? I was not aware of this fact, but she insisted. So, I relented and we selected something different. Years later, upon observing me eating a bowl of cookies and cream ice cream, my brother remarked that he thought I disliked that particular flavor. Apparently, my mother told my brother that I didn?t like cookies and cream. It was totally inadvertent (she was convinced that somebody didn’t like it), but we now joke that it must have been that Mom just didn?t want cookies and cream. :)

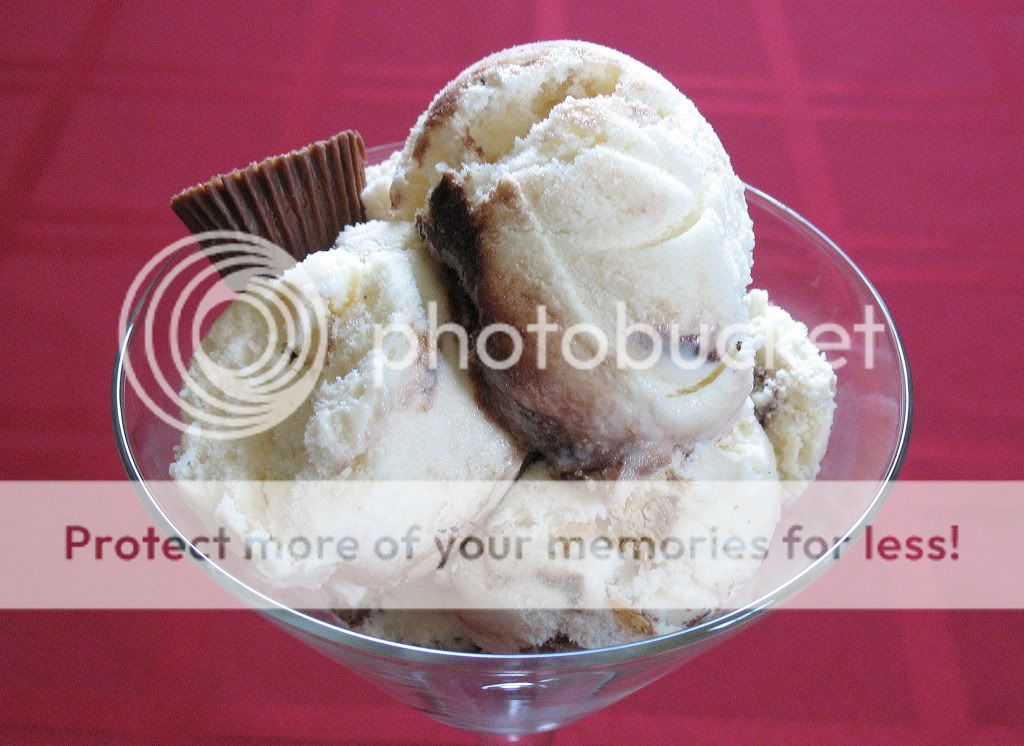
In recent years, Edy?s Fudge Tracks (their version of the more well-known Moose Tracks) has become a family favorite. It has a rich vanilla base to satisfy the purists, and fun mix-ins to please those with slightly more adventurous tastes. To top it all off, the combination of vanilla, chocolate and peanut butter complements most cakes without overpowering them. Since I?ve been on a ice-cream making kick lately, I decided to concoct my own Moose Tracks for my father?s birthday celebration.

I selected a vanilla ice cream base from Proceed with Caution, and used a Fudge Ripple recipe found in David Lebovitz?s The Perfect Scoop. Chopped Reeses Peanut butter cups and chopped semi-sweet Ghiradelli chocolate rounded out the mix. A quick internet search revealed that Trader Joe?s carries miniature peanut butter cups that are roughly the size of a standard chocolate chip. I hope to procure these and try them in future ice cream recipes.

The ice cream was a hit at both my father?s birthday celebration and at a little sundae party later in the week. I love having the ability to get creative and whip up any flavor combination that I desire. I never thought that my Kitchen Aid ice cream maker would get as much use as it already has! If you’re looking for more delicious ice cream recipes, check out Joelen’s Culinary Adventures Tasty Tools blog round-up post for June.
Moose Tracks Ice Cream

1/4 cup Egg Beaters
7 oz. fat free sweetened condensed milk (1/2 can)
3 tbsp white sugar
3 tbsp brown sugar, not packed
4 oz heavy whipping cream
12 oz fat free half and half
8 oz skim milk
1/8 tsp salt
1 1/2 tbsp vanilla extract

1 cup chopped mini Reeses Peanut Butter Cups (about 20)
4 oz. chopped semi-sweet chocolate
1-2 cups fudge ripple (see recipe below)

1. Pour half and half into small saucepan and heat, stirring occasionally, until steam rises. Remove from heat.
2. In a separate bowl, use a whisk or electric mixer to beat Egg Beaters, sweetened condensed milk and sugar together. Beat in 1/2 cup of hot half and half and then stir this mixture into the saucepan with the remaining half and half.
3. Cook over medium-low heat, stirring almost constantly. Continue until the mixture reached 170-180 degrees or is slightly thickened. Do not bring the mixture to a boil.
4. Pour the mixture into a separate bowl and stir in the cream, milk, vanilla extract and salt.
5. Chill the mixture for several hours (overnight is even better). You can speed up the process by placing the bowl containing the mixture in a large bowl filled with ice and water.
6. Freeze in ice cream maker according to manufacturer?s directions.
7. Once the ice cream is done, gently fold in the Reeses Peanut Butter cup and chocolate chunks using a rubber spatula.
8. Transfer the ice cream to a storage container, alternating layers of ice cream with general drizzles of fudge ripple. Do not mix the ice cream and the ripple, as it will become muddied.
9. Allow ice cream to cure in freezer and attain desired hardness.

Fudge Ripple
from The Perfect Scoop
Yields about 2 cups

1/2 cup sugar
1/3 cup light corn syrup
1/2 cup water
6 tbsp unsweetened Dutch-process cocoa powder
1/2 tsp vanilla extract

1. Combine sugar, corn syrup, water and cocoa powder in a medium sauce pan and whisk until well-combined.
2. Heat over medium heat. Whisk constantly until it comes to a low boil.
3. Continue to cook for one minute, whisking constantly.
4. Remove from heat and stir in vanilla.
5. Chill thoroughly in refrigerator before using.

Fudge ripple, if covered and refrigerated, can be stored for up to 2 weeks.

Cookies and Cream Ice Cream

Sunday, June 14th, 2009

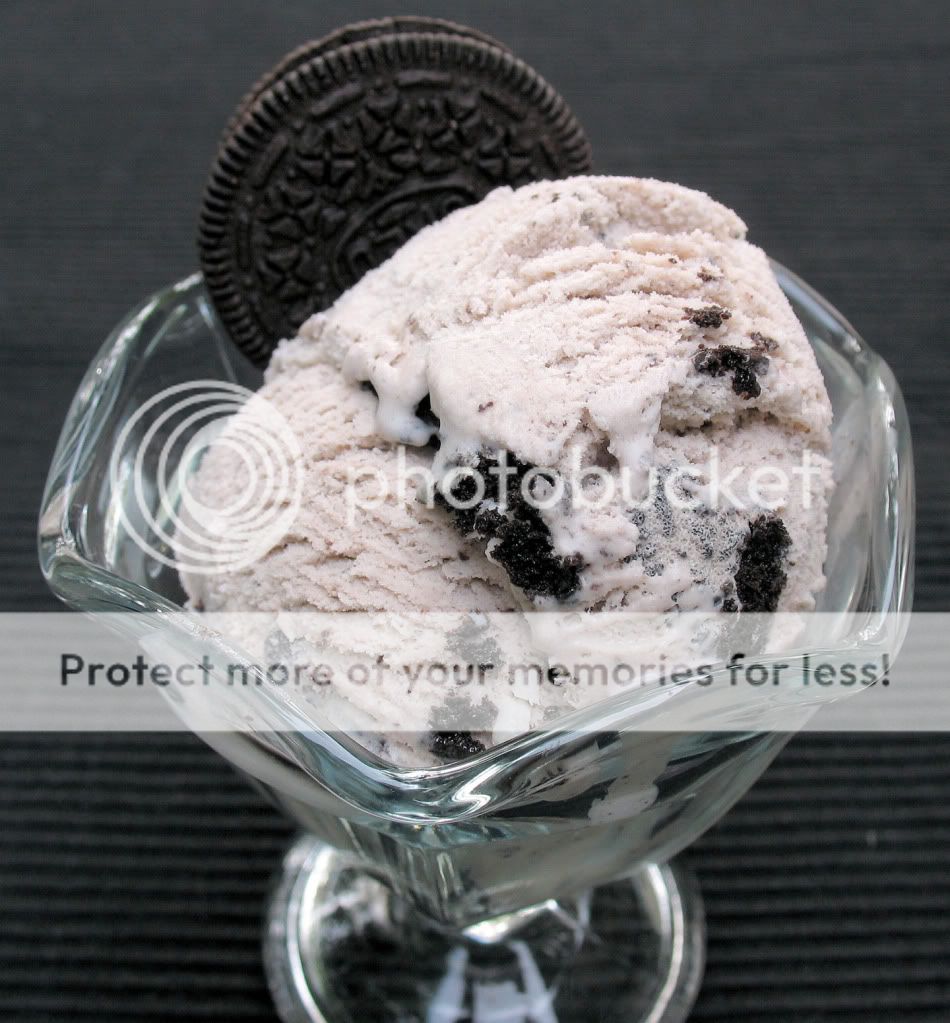
I love having an ice cream maker. Each time I try a new recipe, I am amazed at how easy it is to combine basic ingredients to create an out-of-this-world frozen confection. When I starting planning my husband’s birthday celebration, I knew I wanted to make my own ice cream. What kind of ice cream should be served with a cookies and cream cake? Why cookies and cream ice cream, of course!

For this recipe, I turned to Stefany at Proceed with Caution. Her adapted vanilla base is creamy and smooth, which belies the fact that it contains less fat than most homemade ice creams. The recipe is perfect as-is, but I added more rough-chopped Oreos because I like a lot of mix-ins in my ice cream. I also mixed the base in a slightly different manner, opting to heat it thoroughly before chilling. I’ve included my revised instructions below, but you can see the original here.


Cookies and Cream Ice Cream

Recipe from Proceed With Caution, originally adapted from Doc Wilson

8 oz skim milk
8 oz heavy cream
8 oz fat free half and half
1/4 cup Egg Beaters
6 tbsp sugar
7 oz fat free sweetened condensed milk (1/2 can)
1 tbsp vanilla extract
1/4 cup finely ground Oreos
3/4 cup roughly chopped Oreos

1. Pour half and half into small saucepan and heat, stirring occasionally, until steam rises. Remove from heat.
2. In a separate bowl, use a whisk or electric mixer to beat Egg Beaters, sweetened condensed milk and sugar together. Beat in 1/2 cup of hot half and half and then stir this mixture into the saucepan with the remaining half and half.
3. Cook over medium-low heat, stirring almost constantly. Continue until the mixture reached 170-180 degrees or is slightly thickened. Do not bring the mixture to a boil.
4. Pour the mixture into a separate bowl and stir in the cream, milk, vanilla extract and finely ground Oreos.
5. Chill the mixture for several hours (overnight is even better). You can speed up the process by placing the bowl containing the mixture in a large bowl filled with ice and water.
6. Freeze in ice cream maker according to manufacturer?s directions Add the roughly chopped Oreos during the last five minutes.

Orange Creamsicle Ice Cream

Monday, March 23rd, 2009

So may flavors, so little time.

I had heard that David Lebovitz’s book The Perfect Scoop was a good ice cream resource, so I checked it out of the library. I now have a list of nearly two dozen homemade ice creams, sorbets and sherbets that I want to try. I was pleased to find that Lebovitz goes into great detail explaining how to make the perfect ice cream custard and offering suggestions for ingredients and mix-ins. I’m definitely adding this book to my kitchen wish-list.

After perusing the grocery store circulars and seeing that strawberries, oranges and Oreos were on sale, I narrowed my potential recipes down to the following: Strawberry Frozen Yogurt, Strawberry Sorbet, Orange Popsicle and Cookies & Cream. With the start of spring, something fruity and light sounded really good. My husband was particularly intrigued by Orange Popsicle, so I set out to buy a bag of oranges (on sale!). Check back in the future, as I plan to try the other recipes over the next few months.

Zesting the oranges gave me the opportunity to use one of my new favorite kitchen tools: my rasp-style Microplane Grater. I used to zest citrus with a box grater, but that was rather difficult and messy. I always ended up with irregular size chunks of zest, and so much of it would stick to the grater. Lebovitz actually addresses these two tools stating that rasp-style graters (like the Microplane) will extract almost twice as much zest as a box grater! Good to know. Squeezing the oranges was interesting, as the only citrus squeezer I have is sized for a lemon. After three oranges, I gave up and augmented with some orange juice from a carton of Tropicana. I think a manual juicer like this may be in my future.

Since this recipe does not use egg yolks, it doesn’t need to be heated. Once I finished the arduous task of squeezing oranges without the proper tools, the rest of the prep work was completed by my blender.

I only modified the recipe slightly. As mentioned above I used some carton orange juice. I also ignored Lebovitz’s warning and used fat free half and half. Finally, I added an additional tablespoon of sugar and an extra teaspoon of triple sec to the ice cream base. Once the base was mixed, it had a yellow-y cream color. For aesthetic purposes, I added a few drops of food coloring and colored the base a light orange.

After refrigerating the base, running it through my ice cream maker and freezing for several hours, the ice cream was as delicious and refreshing as it looked! It has a smooth, creamy orange-y flavor – a more decadent, grown-up version of the classic creamsicle. This homemade ice cream has the consistency of a sherbet, and the addition of triple sec makes it easy to scoop right out of the freezer. It tastes fantastic on it’s own, or sprinkled with miniature chocolate chips. I’m also looking forward to serving it as a summer dessert, garnished with fresh fruit.


Orange Creamsicle Ice Cream

Yields about 1 Quart

2/3 cup sugar
Grated zest of 3 oranges
1 1/4 cups freshly squeezed orange juice (from 4 or 5 large oranges)
1 cup sour cream
1/2 cup half and half
2 tsp orange liqueur

1. Pulverize sugar and orange zest in blender.
2. Add orange juice, sour cream, half and half and liqueur. Blend until the sugar is completely dissolved.
3. Chill the mixture in the refrigerator for several house and then process in ice cream maker according to manufacturer’s instructions.

Mint Chocolate Chip Ice Cream

Sunday, March 1st, 2009

As I mentioned in my sorbet post, I’ve been stockpiling homemade ice cream and sorbet recipes for quite awhile. Mint Chocolate Chip is one of my favorite flavors, so I was quite excited when I saw this recipe on the blog Proceed with Caution.

This was my first attempt at homemade ice cream, so I hesitated to stray from the original recipe. I was quite pleased to find an ice cream recipe that didn’t use copious amounts of whipping cream and egg yolks. Since I’ve read conflicting information on consuming uncooked Egg Beaters, I followed the ice cream making method set forth by Mark Bittman in How to Cook Everything, but used the ingredients and proportions found on Proceed with Caution. I’ve included both the original and modified preparation methods below.

When I was done mixing the base, I adjusted the flavor slightly. I found that I needed to increase the amount of sugar by two tablespoons (1/2 cup total) and I also decided to add an additional teaspoon of peppermint extract (1 1/2 teaspoons total). Since I like lots of chocolate bits in my ice cream, added a full cup of mini chocolate chips.

The finished product is rich, creamy and refreshingly minty. I’m happy that I had such a great recipe to follow for my first foray into homemade ice cream and will be consulting Proceed With Caution for other frozen confections.

Mint Chocolate Chip Ice Cream
Adapted from Doc Wilson, as found on Proceed with Caution

1/4 cup Egg Beaters
1/2 can of fat free sweetened condensed milk
1/2 cup white sugar
4 ounces heavy whipping cream
16 ounces fat free half and half
4 ounces skim milk (or 1%, or 2%, whatever you have)
1/8 tsp salt
1 1/2 teaspoon mint extract
2 tsp vodka OR mint schnapps OR “The Good Doctor” (optional)
1 cup mini chocolate chips

In a large mixing bowl whisk together egg beaters, sweetened condensed milk, and sugar until thoroughly mixed. Add heavy whipping cream, half and half, skim milk, salt, vodka or schnapps, and mint extract. For the very best results (who wants anything less?), let the mix chill in the refrigerator for about four hours which allows the mix to “age” before freezing according to the directions with your ice cream freezer. Add the mini chips in the last 5 minutes of freezing. This recipe makes the perfect amount to fit in a 1.5 quart ice cream maker. Makes between 4 and 5 cups of ice cream.

My revised preparation:
1. Pour half and half into small saucepan and heat, stirring occasionally, until steam rises. Remove from heat.
2. In a separate bowl, use a whisk or electric mixer to beat Egg Beaters, sweetened condensed milk and sugar together. Beat in 1/2 cup of hot half and half and then stir this mixture into the saucepan with the remaining half and half.
3. Cook over medium-low heat, stirring almost constantly. Continue until the mixture reached 170-180 degrees or is slightly thickened. Do not bring the mixture to a boil.
4. Pour the mixture into a separate bowl and stir in the cream and milk.
5. Once the mixture has cooled slightly, but is still hot, add the salt, mint extract and vodka. Taste the mixture and add more sugar or mint as needed.
6. Chill the mixture for several hours. You can speed up the process by placing the bowl containing the mixture in a large bowl filled with ice and water.
7. Freeze in ice cream maker according to manufacturer’s directions Add the mini chips during the last five minutes.

Chocolate Mint Sorbet

Tuesday, February 10th, 2009

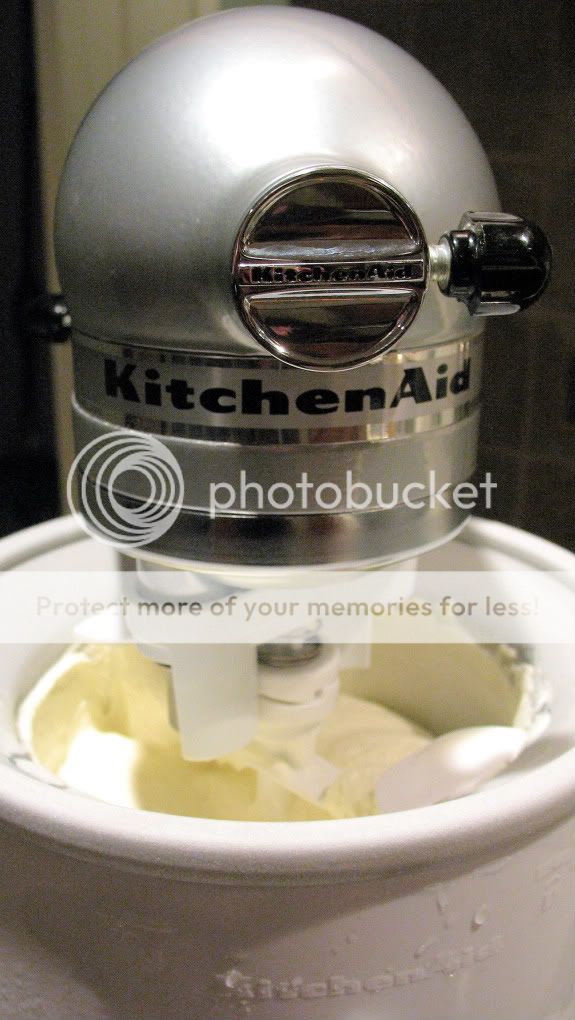
I was a relatively late adopter of the KitchenAid stand mixer. Just about everyone that I know registered for one when they got married. I looked at it and said “It’s big, heavy and expensive. Why would I possibly need it?” While I certainly could get by without it, I have come to love mine. Making breads, cookies and other concoctions is just so effortless. As Lisa’s husband said “You put things in, and food comes out.”

When I decided I was ready to jump on the KitchenAid bandwagon last fall, I researched prices and rebate deals. I was fortunate to catch the end of a fantastic rebate deal: purchase a KitchenAid Artisan Stand Mixer from anywhere but Bed Bath and Beyond and get a slicer/shredder attachment or ice cream maker attachment free.

Armed with a 20% off coupon, I visited my local Linen’s ‘n Things (right before they started their going out of business sale) and emerged with an Artisan Stand Mixer in Metallic Chrome. I happily filled out my rebate form, figuring that my ice cream maker attachment would arrive in time to make delicious frozen concoctions in the dead of winter.

I’ve been bookmarking ice cream, sherbet and sorbet recipes in anticipation of my gadget’s arrival. It arrived on Friday. I was so excited. I think my husband was amused by how much effort I put into deciding what I would make first.

Ultimately, I decided to make chocolate sorbet, using a recipe that Lisa gave me (originally from Recipezaar). since my husband and I love mint chocolate, I added 1/2 tsp of peppermint extract.

I was amazed at how easy it was to make this sorbet. After heating the base, I chilled it in the refrigerator for about four hours before processing it in the ice cream maker. After running the maker for 30 minutes, the sorbet had a soft-serve consistency, so I transferred it to a 2-quart airtight container and put it in the freezer.

Four hours later, we sampled the chocolate mint sorbet for the first time. Wow. It’s amazing that something with so few ingredients and so little preparation can be so decadent. The finished product has a smooth, dense, luxurious look and feel. It has a rich dark chocolate flavor (almost bittersweet) with a cool hint of mint. If you’re looking for a lighter flavored chocolate dessert, this is not the one for you. But, if you want a taste of intensely satisfying dark chocolate, I highly recommend it.

Chocolate Mint Sorbet

Yields 6 servings

1 cup cocoa
3/4 cup sugar
2 1/2 cups water
1 tsp vanilla extract
1/2 tsp peppermint extract

1. Combine all but vanilla in a saucepan.
2. Heat on medium, stirring frequently, until the mixture reaches a boil.
3. Turn off heat, and stir in vanilla and peppermint extract.
4. Chill in fridge for several hours.
5. Put in ice cream maker and run according to manufacturers directions until it reaches desired consistency.

The sorbet will have a soft-serve consistency. Sorbet will be firmer after several additional hours of freezing.