Homemade Pizza Dough

July 19th, 2009 by Lisa

Usually my husband and I purchase our Pizza dough at the grocery store, because it seems like a big project to make it ourselves. This week, however, I really really wanted grilled pizza and found us sadly out of dough. So, I decided to take the leap and try making dough myself. I used my go-to cookbook, “How to Cook Everything” by Mark Bittman for a recipe, and set to it!

It turns out it’s actually not nearly as hard as I thought it would be; I used my trusty stand-mixer and the dough nearly made itself. I added some fresh herbs to the dough; this time I chose oregano because I have a small oregano forest growing in our container garden and don’t know what else to do with it. I hear it’s great with rosemary as well!

Ingredients:

1 teaspoon active dry yeast

3 cups (or 14 ounces by weight) of all-purpose flour, plus more for dusting

2 teaspoons kosher salt

1-1 1/4 cups water

2 tablespoons olive oil

1 teaspoon finely chopped fresh oregano

Instructions:

1) Combine the yeast, half of the flour, oregano, salt, 2 tablespoons olive oil, and 1 cup water. Blend together until smooth.

2) Gradually mix in the remaining flour a little at a time until the dough is a sticky ball that pulls away from the sides. Knead the dough (either by hand or using the dough-hook for a stand mixer) adding as little extra flour as possible.

3) Place the dough in a bowl greased with the remaining teaspoon of olive oil, cover loosely, and let rise in a warm area for 1-2 hrs. Then top with your favorite toppings, and proceed with baking or grilling!

Southwestern Chicken Grilled Pizza

July 16th, 2009 by Beth

My husband I love grilling pizza because it’s quick, easy and the topping possibilities are endless. I first made this Southwestern Chicken Grilled Pizza when I was faced with leftover Tomatillo Salsa, Tequila Lime Chicken and lots of fresh cilantro.

Using tomatillo salsa in place of traditional tomato sauce gives this pizza a light, fresh taste. The flavors of the tangy, bright salsa, smokey chicken and mellow caramelized onions blend beautifully. The pizza is full of flavor, but not overly spicy, so it will appeal to a wide variety of palates.

Southwestern Chicken Grilled Pizza

Pizza dough
Corn meal
Olive oil
1/2 large sweet onion, sliced thin
1/4 – 1/2 cup tomatillo salsa (store-bought or homemade)
1 grilled chicken breast, chopped (I used Tequila Lime chicken)
1 cup shredded Mexican cheese
2-4 tbsp chopped, fresh cilantro

1. In a saute pan, heat olive oil over medium heat. Saute onions for 7-10 minutes or until soft and translucent.
1. Place pizza stone on cold grill. Preheat grill on high for about 10 minutes.
2. Meanwhile, stretch your dough by hand or roll it out on a lightly floured surface.
3. Sprinkle pizza peel liberally with cornmeal. Place stretched dough on top of cornmeal-covered peel.
4. Spread tomatillo salsa over the dough.
5. Distribute chopped chicken and sauteed onions evenly over the salsa.
6. Top with shredded cheese.
7. Reduce grill heat to medium-high. Slide prepared pizza onto preheated stone,close lid and grill for 8-10 minutes (for thin crust) until crust is golden and slightly crispy. Thicker crusts will require more time.
8. Remove pizza from stone and allow stone to cool on the grill.
9. Sprinkle chopped cilantro onto finished pizza.

Easy Grilled Pizza

July 11th, 2009 by Beth

For several years, I found the concept of grilled pizza intriguing, yet intimidating. I shuddered at the thought of placing pizza dough atop the grill grates, picturing globs of stuck-on dough or whole pizzas lost in the flames. Despite assurances to the contrary, I just couldn’t bring myself to try grilled pizza, until my co-blogger Lisa taught me how to grill pizza using a baking stone.

A baking stone makes grilling pizza amazingly simple. While some companies sell expensive stones that are specifically designed to withstand a grill’s high heat, I’ve had pretty good luck with the basic, inexpensive stones that can be found at Amazon, Target, Bed Bath and Beyond and similar retailers. Baking stones are more likely to crack if exposed to sudden changes in temperature, so it’s important to allow the stone to preheat on the grill and to give it plenty of time to cool. It’s also worth noting that baking stones should only be cleaned using a scraper and hot water, as they can absorb dish soap. Over time your stone will become stained and discolored; this is completely normal.

If your grill is too small to close completely when a pizza stone is placed on the grate, you can still grill your pizza. Simply allow the grill cover to rest on the protruding stone and keep in mind that you may need to adjust your grilling time. Since grills can vary so much in temperature, you’ll probably need to keep a close eye on your pizza to determine exactly what heat setting and times work for you.

When grilling a pizza in this manner, the only items you absolutely need are a baking stone, corn meal, and a portable preparation surface. The pizza must be prepared on a separate surface before being transferred to the preheated stone. A pizza peel is the ideal tool, although a rimless cookie sheet or large cutting board will work in a pinch. I have two peels, and my favorite is a large, smooth bamboo one that was a great find at Christmas Tree Shop. Before stretching the dough, it’s important to liberally sprinkle corn meal on the pizza peel. This will prevent the stretched dough from sticking, and make it easier to slide the prepared pizza from the peel to the stone.

Pizza dough is more relaxed and easier to work with when it’s at room temperature. Remove the dough from the refrigerator at least 30 minutes before you plan to use it (Since I like thin crust, I usually buy a large ball of unstretched dough from Bertucci’s and use it to make two pizzas). Unwrap the dough and set it on a lightly floured work surface. In a pinch, I have found that placing dough in a zip-top bag and then placing the sealed bag in a bowl of hot water allows the dough to relax more quickly.

Grilling your own pizza allows you to make the perfectly customized meal. It has become one of our go-to summer treats, and provides for an endless array of possibilities. Stay tuned for some of my favorite pizza recipes!

Grilling the Pizza:

1. Place pizza stone on cold grill. Preheat grill on high for about 10 minutes.
2. Meanwhile, stretch your dough by hand or roll it out on a lightly floured surface.
3. Place the stretched dough on a pizza peel covered with a generous layer of cornmeal.
4. Reduce heat to medium-high. Slide prepared pizza onto preheated stone, close lid and grill for 8-10 minutes (for thin crust) until crust is golden and slightly crispy. Thicker crusts will require more time.
5. Remove pizza from stone and allow stone to cool on the grill.

S’Mores Cupcakes

July 2nd, 2009 by Beth

There are some things that just say “summer” to me: cookouts in my parents’ backyard, competitive games of bocce, cold glasses of iced tea with fresh lemons, large slices of watermelon, strawberry shortcake and s’mores.

These cupcakes are the perfect addition to a summer cookout. Martha Stewart’s cupcakes inspired my assembly method, but I used my go-to chocolate cake recipe, Hershey’s “Perfectly Chocolate” Chocolate Cake and created my own marshmallow frosting recipe. The frosting is soft and sticky, much like a melted marshmallow. The buttery graham cracker base, coupled with bittersweet chocolate, a rich chocolate cake and the marshmallow frosting imparts that quintessential summer flavor of s’mores in a portable cupcake… no campfire required!

S’mores Cupcakes
Yields 30 cupcakes

For the graham crust:
1/4 cup sugar
1 1/2 cups graham cracker crumbs (from about 20 squares)
1/3 cup unsalted butter, melted
1/2 – 1 cup bittersweet chocolate chips

For the cupcakes:
2 cups sugar
1 3/4 cups all-purpose flour
3/4 cup HERSHEY’S Cocoa
1 1/2 tsp baking powder
1 1/2 tsp baking soda
1 tsp salt
2 eggs
1 cup milk
1/2 cup vegetable oil
2 tsp vanilla extract
1 cup boiling water

For the topping:

Marshmallow Frosting (recipe below)
Finely crushed graham cracker crumbs
Chocolate sprinkles (jimmies, for those of us from New England!)

1. Heat oven to 350?F. Grease muffin cups or line with paper liners.
2. Combine 1/4 cup sugar,graham cracker crumbs and melted butter in a small bowl.
3. Spoon 1 tablespoon of graham crakcer mix into the bottom of each muffin cup. Press crumbs firmly, using the bottom of a small glass. Save the remaining mixture for topping.
4. Top graham cracker mix with several bittersweet chocolate chips.
5. Bake graham mixture for about five minutes, or until the edges are golden brown. Remove from oven and set aside.
6. Stir together sugar, flour, cocoa, baking powder, baking soda and salt in medium bowl.
7. In a large bowl, combine eggs, milk, oil and vanilla. Stir until well blended.
8. Add flour mixture to large bowl and beat on medium speed of mixer 2 minutes.
9. Stir in boiling water (batter will be thin). Pour batter into prepared pans.
10. Fill prepared muffin cups 3/4 full with batter (about 1/4 cup).
11. Sprinkle batter with small amount of remaining graham cracker mixture.
12. Bake 22 to 25 minutes. Cool completely

Marshmallow Frosting
Yields enough frosting for 30 cupcakes

2 1/4 cups marshmallow creme (about 8 oz.)
1/2 cup shortening
1/4 cup water
2 1/2 cups powdered sugar

1. Cream together shortening and marshmallow creme.
2. Beat in about 1/2 of the water, followed by half of the powdered sugar.
3. Add the remaining powdered sugar and enough water to bring the frosting to a smooth, spreadable consistency.

Assembling the cupcakes:

1. Spoon a small amount of frosting onto the center of the cupcake and spread towards the edges with a knife. This frosting is very soft and will run down the edges of the cupcake if too much is applied.
2. Sprinkle frosted cupcakes with crushed graham cracker crumbs and chocolate sprinkles.

Homemade Pesto

June 30th, 2009 by Beth

Last summer, I started a small container garden that consisted of four basil plants. I thought it would be fun to have fresh basil available to top pizzas, pasta salads and other summer dishes. With very little attention from me, my basil grew like a weed. So much so, that I named it “my basil forest.” Since these massive plants yielded more leaves than I could ever hope to chiffonade and toss atop a favorite dish, I started making pesto.

I consulted Mark Bittman’s How to Cook Everything to learn how to make pesto. Reading his “Basics of Pesto” section, I learned that pesto is a traditional method of preserving herbs (not just basil!) in oil. Pesto can be frozen, without cheese, for several months or stored in the refrigerator for up to two weeks (use your discretion).

Making pesto is an amazingly simple process. With five ingredients and a food processor, you can have bright, freshly-made pesto in a matter of minutes.


Pesto
Yields about 1 cup

2 loosely packed cups of basil leaves
salt to taste
1/2 – 2 cloves garlic, crushed
2 tbsp pine nuts or walnuts
1/2 cup olive oil
1/2 cup Parmesan cheese (optional)

1. lightly toast the nuts in a dry skillet.
2. Rinse and dry the basil leaves, removing any large stems.
3. Place the basil, salt, garlic, nuts and about 1/2 of the olive oil in the work bowl of a food processor or blender.
4. Process the mixture, scraping down the sides occasionally to ensure that all of the ingredients are mixed uniformly.
5. Gradually add the rest of the olive oil. If you prefer a thinner pesto, add additional olive oil.
6. If cheese is desired, stir in by hand just before serving.

Tomatillo Salsa

June 24th, 2009 by Beth

I had been wanting to try my hand at tomatillo salsa for quite some time, but was unable to procure fresh or canned tomatillos at several local, suburban grocery stores. Last week while perusing the fresh produce, I excitedly spotted the small husked tomatillos alongside the vine-ripened tomatoes and assorted hot peppers. My purchase caused quite a stir at the front end, as it took awhile for several cashiers to come up with the correct produce code. Apparently my local Stop and Shop doesn’t move large volume of tomatillos.

Now that I had the produce in hand, I had to settle on a recipe. After looking over several recipes to get a general idea of standard ingredients and preparations, I settled on this recipe from on allrecipes.com. I was pleased with how quickly the salsa came together. While the tomatillos were cooking, I chopped and measured the rest of the ingredients into the food processor work bowl. Less than a minute after removing the tomatillos from the stove, the salsa was done.

I will definitely be making this again. The salsa had a tart fresh tang, with an aromatic hint of garlic. Just add chips and a frosty margarita and you have a perfect Mexican-inspired snack.

Tomatillo Salsa

1 pound tomatillos, husk and stem removed
1/2 cup chopped onion
1 clove garlic, roughly chopped
1 jalapeno pepper, seeded and roughly chopped
2 tbsp chopped cilantro
1 tsp dried oregano
1/2 teaspoon ground cumin
1 1/2 teaspoons salt, or to taste
1 tbsp lime juice (juice of 1/2 lime)

1. Place husked, washed tomatillos in a saucepan. Fill the pan with enough water to cover the tomatillos and bring to a boil over high heat.
2. Reduce heat to medium and simmer for 10-15 minutes, or until tomatillos are soft.
3. Transfer tomatillos to the work bowl of a food processor. Reserve cooking water in case additional water is needed to thin the salsa.
4. Add remaining ingredients onion, garlic, jalapeno, cilantro, oregano, cumin and salt) and process until smooth. If salsa is too thick, add small amounts of cooking water until desired consistency is reached.

Moose Tracks Ice Cream

June 20th, 2009 by Beth

Selecting an ice cream that the whole family likes has always been a bit of a challenge when planning birthday celebrations. Some family members are fans of mix-in laden ice cream, while others are purists, preferring a rich vanilla or delicate mocha. Years ago, I went grocery shopping with my mother to pick up what we needed for my father?s birthday dinner. As I pulled a pint of Brigham?s Cookies and Cream ice cream from the freezer case, my mother stated ?Your brother doesn?t like cookies and cream.? I was not aware of this fact, but she insisted. So, I relented and we selected something different. Years later, upon observing me eating a bowl of cookies and cream ice cream, my brother remarked that he thought I disliked that particular flavor. Apparently, my mother told my brother that I didn?t like cookies and cream. It was totally inadvertent (she was convinced that somebody didn’t like it), but we now joke that it must have been that Mom just didn?t want cookies and cream. :)

In recent years, Edy?s Fudge Tracks (their version of the more well-known Moose Tracks) has become a family favorite. It has a rich vanilla base to satisfy the purists, and fun mix-ins to please those with slightly more adventurous tastes. To top it all off, the combination of vanilla, chocolate and peanut butter complements most cakes without overpowering them. Since I?ve been on a ice-cream making kick lately, I decided to concoct my own Moose Tracks for my father?s birthday celebration.

I selected a vanilla ice cream base from Proceed with Caution, and used a Fudge Ripple recipe found in David Lebovitz?s The Perfect Scoop. Chopped Reeses Peanut butter cups and chopped semi-sweet Ghiradelli chocolate rounded out the mix. A quick internet search revealed that Trader Joe?s carries miniature peanut butter cups that are roughly the size of a standard chocolate chip. I hope to procure these and try them in future ice cream recipes.

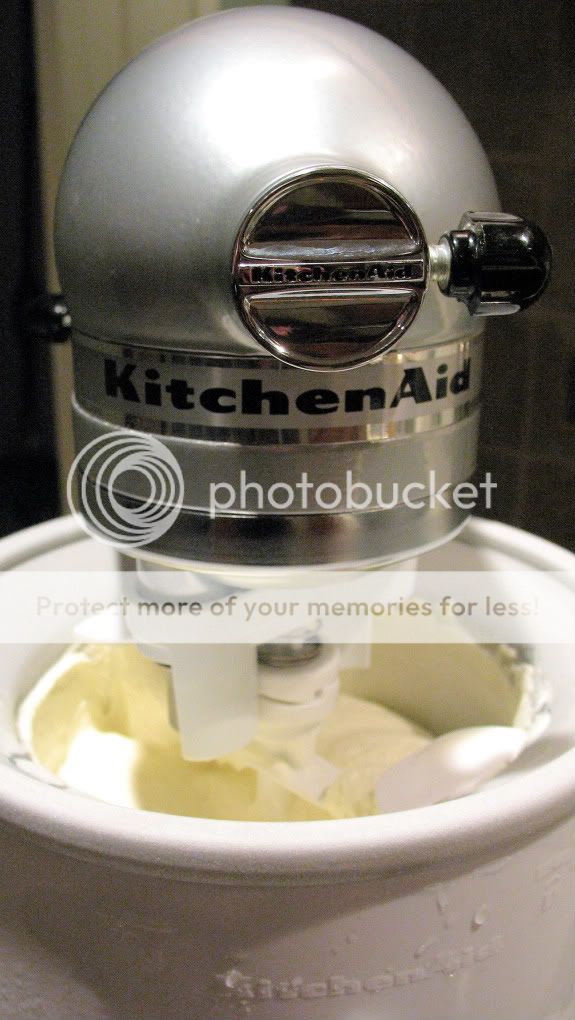
The ice cream was a hit at both my father?s birthday celebration and at a little sundae party later in the week. I love having the ability to get creative and whip up any flavor combination that I desire. I never thought that my Kitchen Aid ice cream maker would get as much use as it already has! If you’re looking for more delicious ice cream recipes, check out Joelen’s Culinary Adventures Tasty Tools blog round-up post for June.
Moose Tracks Ice Cream

1/4 cup Egg Beaters
7 oz. fat free sweetened condensed milk (1/2 can)
3 tbsp white sugar
3 tbsp brown sugar, not packed
4 oz heavy whipping cream
12 oz fat free half and half
8 oz skim milk
1/8 tsp salt
1 1/2 tbsp vanilla extract

1 cup chopped mini Reeses Peanut Butter Cups (about 20)
4 oz. chopped semi-sweet chocolate
1-2 cups fudge ripple (see recipe below)

1. Pour half and half into small saucepan and heat, stirring occasionally, until steam rises. Remove from heat.
2. In a separate bowl, use a whisk or electric mixer to beat Egg Beaters, sweetened condensed milk and sugar together. Beat in 1/2 cup of hot half and half and then stir this mixture into the saucepan with the remaining half and half.
3. Cook over medium-low heat, stirring almost constantly. Continue until the mixture reached 170-180 degrees or is slightly thickened. Do not bring the mixture to a boil.
4. Pour the mixture into a separate bowl and stir in the cream, milk, vanilla extract and salt.
5. Chill the mixture for several hours (overnight is even better). You can speed up the process by placing the bowl containing the mixture in a large bowl filled with ice and water.
6. Freeze in ice cream maker according to manufacturer?s directions.
7. Once the ice cream is done, gently fold in the Reeses Peanut Butter cup and chocolate chunks using a rubber spatula.
8. Transfer the ice cream to a storage container, alternating layers of ice cream with general drizzles of fudge ripple. Do not mix the ice cream and the ripple, as it will become muddied.
9. Allow ice cream to cure in freezer and attain desired hardness.

Fudge Ripple
from The Perfect Scoop
Yields about 2 cups

1/2 cup sugar
1/3 cup light corn syrup
1/2 cup water
6 tbsp unsweetened Dutch-process cocoa powder
1/2 tsp vanilla extract

1. Combine sugar, corn syrup, water and cocoa powder in a medium sauce pan and whisk until well-combined.
2. Heat over medium heat. Whisk constantly until it comes to a low boil.
3. Continue to cook for one minute, whisking constantly.
4. Remove from heat and stir in vanilla.
5. Chill thoroughly in refrigerator before using.

Fudge ripple, if covered and refrigerated, can be stored for up to 2 weeks.

Cookies and Cream Ice Cream

June 14th, 2009 by Beth

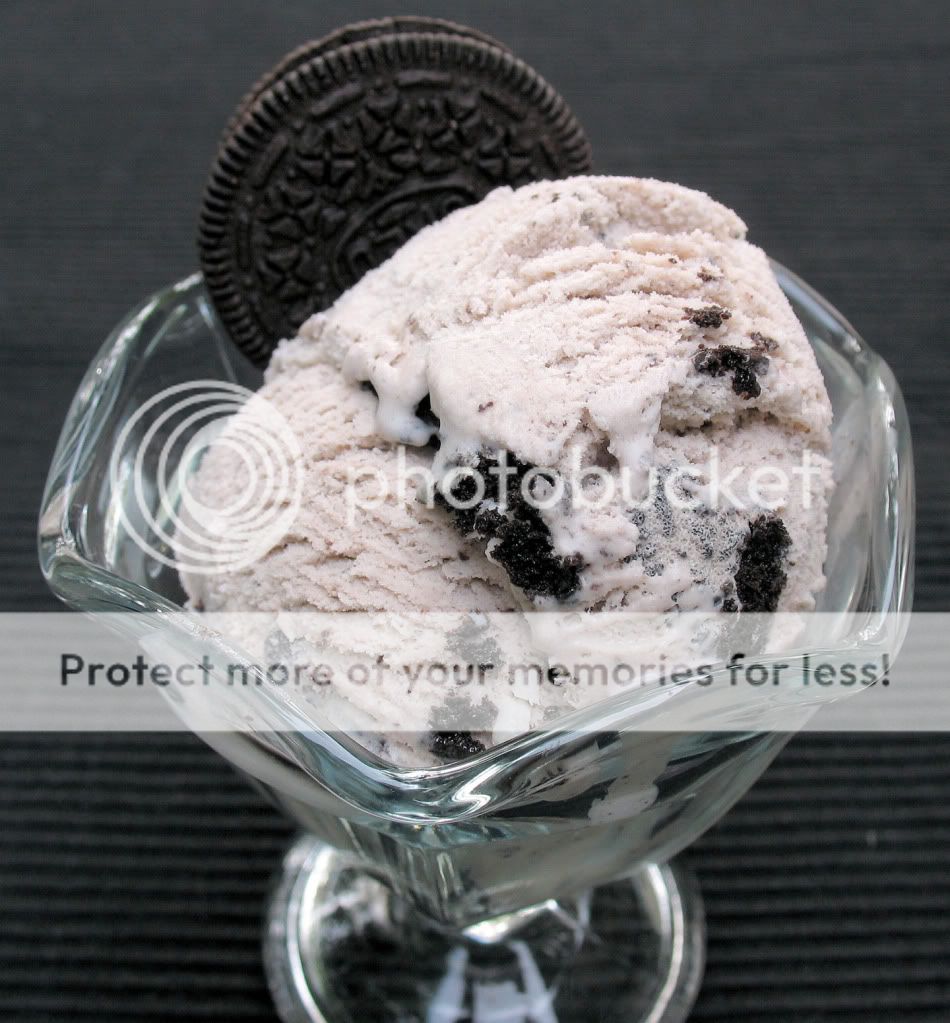
I love having an ice cream maker. Each time I try a new recipe, I am amazed at how easy it is to combine basic ingredients to create an out-of-this-world frozen confection. When I starting planning my husband’s birthday celebration, I knew I wanted to make my own ice cream. What kind of ice cream should be served with a cookies and cream cake? Why cookies and cream ice cream, of course!

For this recipe, I turned to Stefany at Proceed with Caution. Her adapted vanilla base is creamy and smooth, which belies the fact that it contains less fat than most homemade ice creams. The recipe is perfect as-is, but I added more rough-chopped Oreos because I like a lot of mix-ins in my ice cream. I also mixed the base in a slightly different manner, opting to heat it thoroughly before chilling. I’ve included my revised instructions below, but you can see the original here.


Cookies and Cream Ice Cream

Recipe from Proceed With Caution, originally adapted from Doc Wilson

8 oz skim milk
8 oz heavy cream
8 oz fat free half and half
1/4 cup Egg Beaters
6 tbsp sugar
7 oz fat free sweetened condensed milk (1/2 can)
1 tbsp vanilla extract
1/4 cup finely ground Oreos
3/4 cup roughly chopped Oreos

1. Pour half and half into small saucepan and heat, stirring occasionally, until steam rises. Remove from heat.
2. In a separate bowl, use a whisk or electric mixer to beat Egg Beaters, sweetened condensed milk and sugar together. Beat in 1/2 cup of hot half and half and then stir this mixture into the saucepan with the remaining half and half.
3. Cook over medium-low heat, stirring almost constantly. Continue until the mixture reached 170-180 degrees or is slightly thickened. Do not bring the mixture to a boil.
4. Pour the mixture into a separate bowl and stir in the cream, milk, vanilla extract and finely ground Oreos.
5. Chill the mixture for several hours (overnight is even better). You can speed up the process by placing the bowl containing the mixture in a large bowl filled with ice and water.
6. Freeze in ice cream maker according to manufacturer?s directions Add the roughly chopped Oreos during the last five minutes.

Pesto Grilled Cheese

June 11th, 2009 by Beth

Quick and easy comfort food does not have to be plain! This isn’t much of a recipe, but it’s a fun twist on classic grilled cheese. My friend Carolyn served this to me once during a mid-week lunch date, and I was hooked!

Grab your favorite hearty bread (Arnold’s Oatnut or 9 Grain are staples in my household) and apply butter to one side and slather pesto to the other. Sandwich a hearty slice of mozzarella between the two slices, grill on the stove and serve. :)

Corn Salsa

June 10th, 2009 by Beth

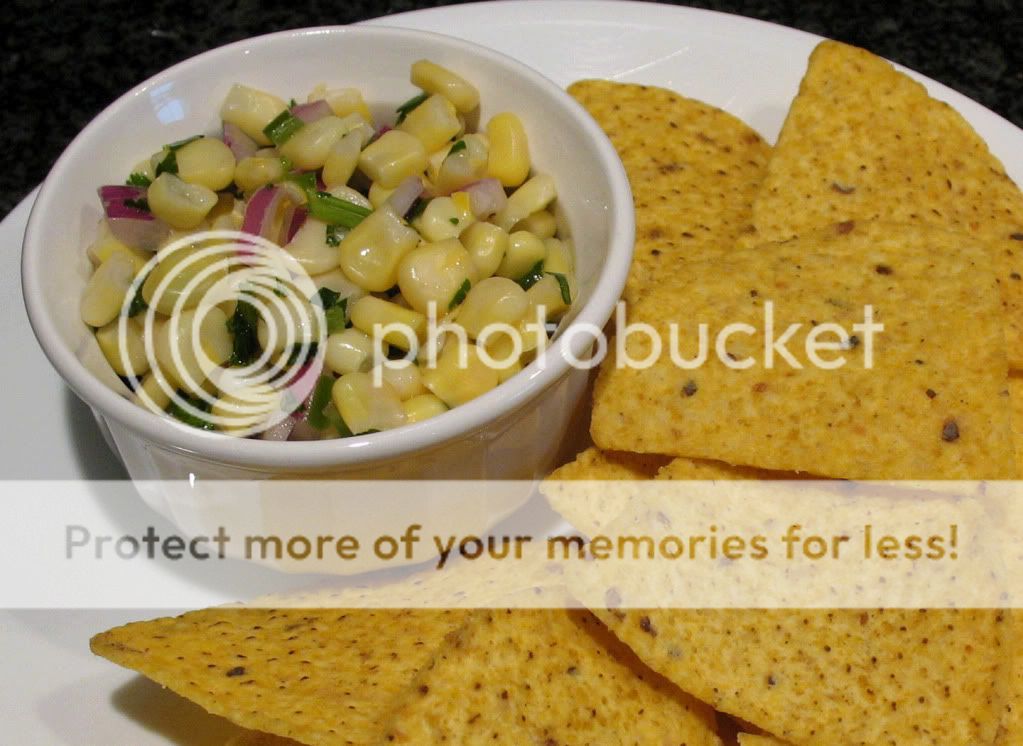
I do not like tomatoes. While I love the taste of tomatoes, I won’t touch anything that resembles a fresh tomato. As you might imagine, this limits my options for fresh salsas. Enter corn salsa. When I tried it at Chipotle, it was love at first bite. It’s crisp, fresh, flavorful and contains no trace of tomato.

Inspired by my love of Chipotle’s corn salsa, I set out to create a reasonable approximation at home. When I first started making the salsa, I used this recipe from About.com as my guide, but now I just eyeball all of the ingredients. This is a non-particular recipe that can be easily adjusted to suit individual preference. I can safely say that I use more jalapeno, cilantro and onion than called for in the original recipe.

You can certainly use frozen corn to make this salsa, but it tastes even better with fresh, native corn stripped from the cob. When I use fresh corn, I boil a few ears as if I were going to serve it and then slice the kernels from the cob. The fresh corn lends a crisp sweetness to the salsa.

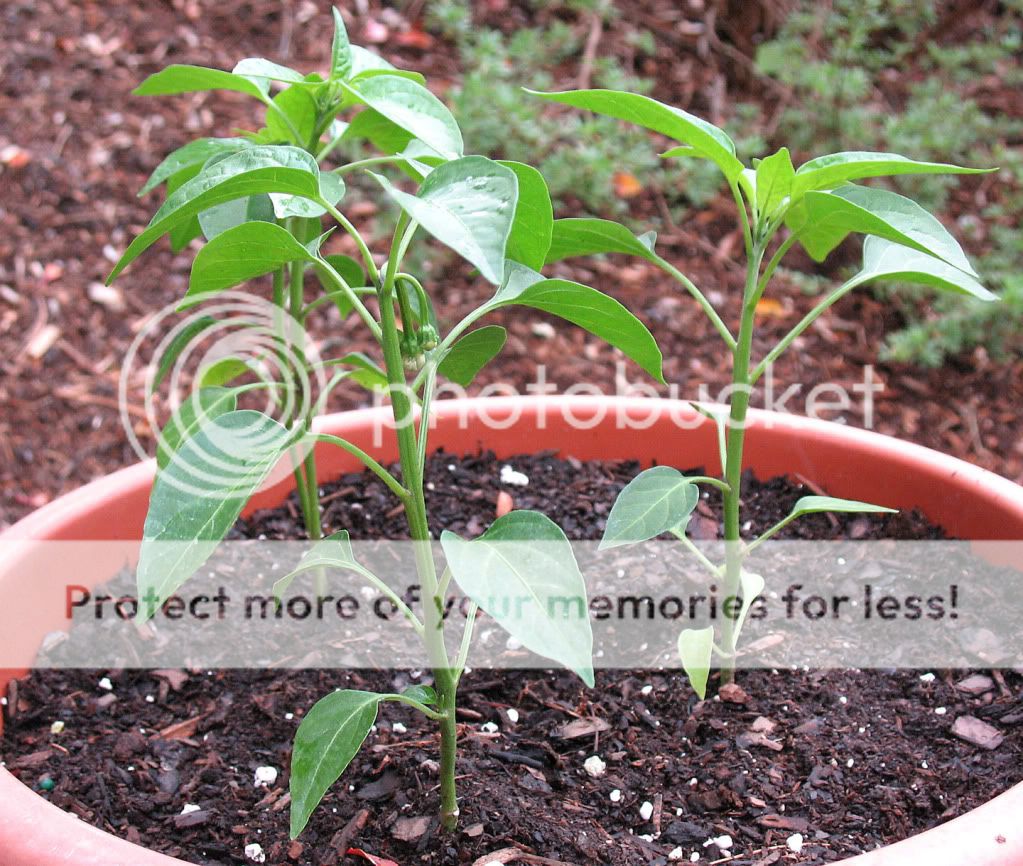
I’m growing jalapeno peppers this year, as well as cilantro. The starter pepper plants look good, as long as the squirrels leave the tiny peppers alone! I started the cilantro from seed, and it just sprouted a few days ago. Every few weeks, I plan to sow a new batch of cilantro so I will have a continuous supply. By the time my favorite farm stand is selling their native corn, I hope to have jalapenos and cilantro from my garden to use in this salsa!

Since it’s so easy to put together, this salsa has become a summer staple in my household. It’s delicious as an accompaniment to corn chips, or grilled meats. In face, it complements tequila lime chicken beautifully. However you sever it, this corn salsa is simple, fresh and flavorful.

Corn Salsa

2 cups frozen corn kernels, thawed (2-3 medium ears of fresh corn)
1/3 cup chopped red onion
3 tablespoons chopped fresh cilantro
2 tablespoons fresh lime juice (juice of one lime)
1 to 2 tablespoons finely chopped jalapeno pepper
1/2 teaspoon salt

1. Combine all ingredients in a small bowl.
2. Cover and refrigerate for 2 to 4 hours.
3. Can be served cold or at room temperature.