Authors
Beth
Kathleen
Lisa
Contact
domesticpursuits [at] gmail.com
Categories

Posts Tagged ‘No-Knead Bread’

No-Knead French Baguette

Thursday, April 2nd, 2009

I love thumbing through cookbooks at bookstores and libraries. While the internet is a fantastic resource for recipes and cooking information, there’s something about the actual act of reading a book that I find enjoyable. During my last trip to the library, Suzanne Dunaway’s No Need to Knead caught my eye. The idea behind this book is that it’s possible to make bakery-style bread at home with simple ingredients, basic kitchen equipment and minimal time commitment.

I decided to give the French Baguette a whirl. Since the original recipe produces two full-size baguettes, I opted to halve the recipe and make two smaller baguettes. I have included the full recipe below. I use my stand mixer to speed up the process, despite the fact that this bread can easily be prepared by hand. Most recipes, including this one, have both same-day and overnight methods. Which one you use depends on how quickly you want to bake the bread and how much time you want to dedicate to preparation. I have tried both methods and was equally pleased with each one.

Using the overnight method required minimal hands-on time. I mixed the dough on Saturday night, threw it in the refrigerator and pulled it out the following morning. A few hours later I shaped and baked the loaves. The same-day method requires more intervention, but it’s minimal. The dough is easy to handle, and it only takes a few seconds to fold the dough over on itself.

The bread is delicious! It has a slight tang to it, but isn’t as strong as sourdough. The crust is crisp and crackled, while the crumb is soft and moist. Stored in a paper bag, it keeps well for a few days.

This is my new favorite bread recipe and will be making it on a regular basis. I couldn’t believe how easy it was to make an absolutely amazing French baguette.

No-Knead French Baguettes

Yields 2 full-size loaves, or 3-4 small loaves

2 cups lukewarm water
2 tbsp active dry yeast
5 cups all=purpose or unbleached bread flour
2-3 tsp salt

Mix the Dough
1. Pour water into large bowl.
2. Sprinkle yeast onto water and stir until dissolved,
3. Add two cups of flour and stir until smooth, about two minutes.
4. Add the remaining 3 cups of flour and salt. Stir until the dough pulls away from the bowl and the flour is completely incorporated – about five minutes. If the dough is too wet, stir in an additional 1/4 to 1/2 cup of flour.

Same-Day Method
1. Cover the bowl with plastic wrap and let the dough rise until doubled in volume – about 30-40 minutes.
2. Fold the dough over on itself 3 or 4 times and let the dough rise a second time until doubled in volume.
3. Fold the dough over on itself 3 or 4 times and let the dough rise a third time until doubled in volume.
4. Proceed with the shaping instructions

Overnight Method
1. Cover bowl and refrigerate over night.
2. Remove the bowl from the refrigerator at least two hours prior to shaping. Leave it covered and allow it to rise for the second time.
3. Proceed with the shaping instructions.

Shape the Baguettes
1. Preheat the oven to 450. Place a broiler pan or baking pan on the bottom rack of the oven. Cover baking sheet with parchement paper or spray with cooking spray.
2. Turn the dough onto a lightly floured surface.
3. Divide the dough into multiple 2-4 pieces (depends how many loaves you want to make) and let it rest for 15 minutes.
4. With the palms of your hand, roll each piece into a long cylinder and place it on the baking sheet.
5. Let the loaves rise until doubled in volume – about 30 minutes.
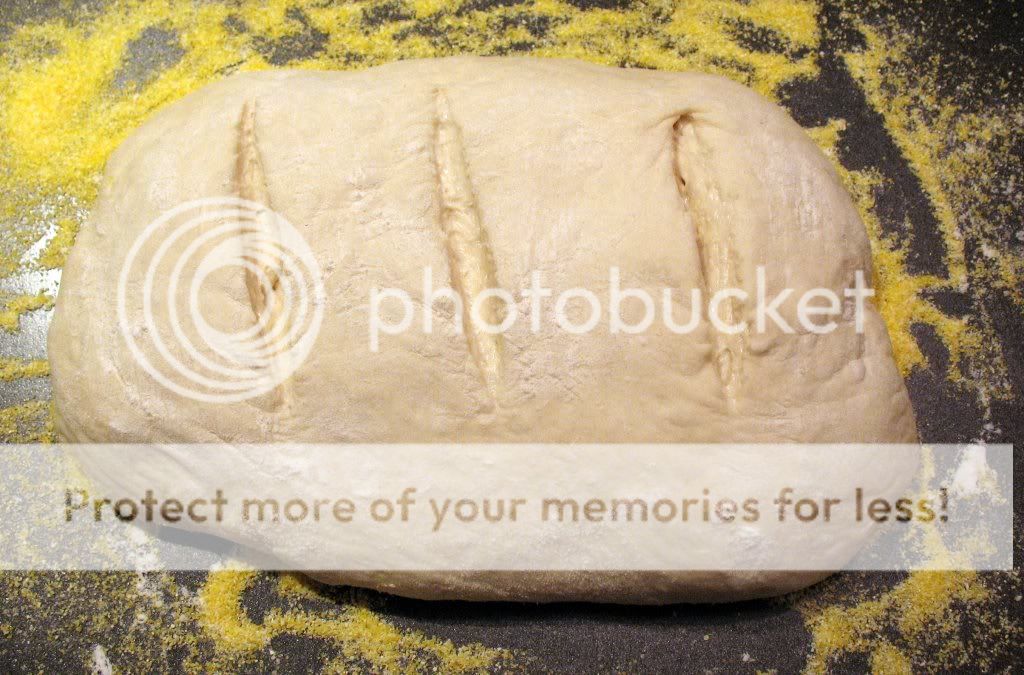
6. Use a sharp serrated knife to cut several slashes in each loaf. Spritz with water (or smooth on with hands)
7. Place bread in preheated oven and turn temperature down to 400. Pour 1 cup of warm water into broiler pan before quickly shutting oven.
8. Bake for 30-35 minutes or until the baguettes are nicely browned.
9. Cool on wire rack before serving.
Parmesan Bread

Sunday, February 1st, 2009

I’ve been making the basic boule from Artisan Bread in Five Minutes a Day for nearly a year now. My husband spotted this Sun-Dried Tomato and Parmesan Bread recipe while thumbing through the book the other day. Since we had company coming for dinner on Saturday night, I decided to give it a try.

The central idea behind Artisan Bread in Five Minutes a Day is that “Pre-mixed, pre-risen, high moisture dough keeps well in the refrigerator.” Initially mixing the dough takes about 10 minutes or less and shaping/baking a loaf only requires 5 minutes of attended preparation time. Additionally, this dough can be mixed using only a spoon and a mixing bowl. No kneading is required.

The book contains a number of base dough recipes that can be modified, resulting in dozens of different kinds of bread and bread products.

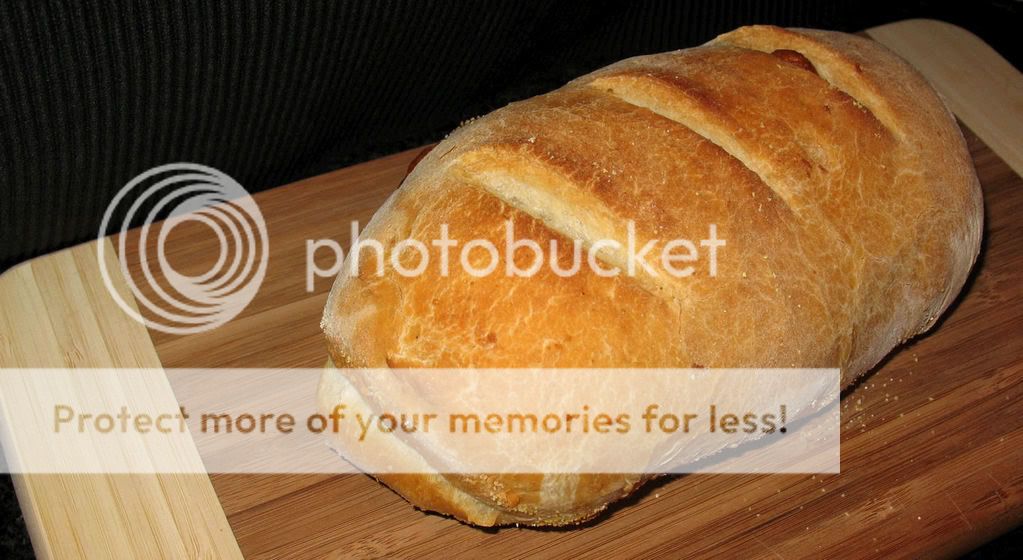
This recipe uses 1 pound of the Master Bread recipe, which I’ve detailed in a previous post. I omitted the sun-dried tomatoes, making this a Parmesan bread. The cheese added a nice tang to the bread and brushing the crust with olive oil resulted in a nicely browned, crisp crust.

Parmesan Bread

Yields a single 1-pound loaf

1 pound (grapefruit-sized portion) of dough
Olive oil for brushing the loaf
1/2 cup grated Parmesan cheese (or other Italian-style grating cheese)
Cornmeal pizza peel

1. Dust the surface of the refrigerated dough with flour and cut off a 1-pound piece. Dust the piece with more flour and quickly shape it into a ball by stretching the surface of the dough around the bottom on all four sides, rotating the ball a quarter turn as you go.

2. Roll out the ball into a 1/4-inch-thick rectangle. As you roll out the dough, use enough flour to prevent it from sticking to the work surface, but not so much as to make the dough dry.

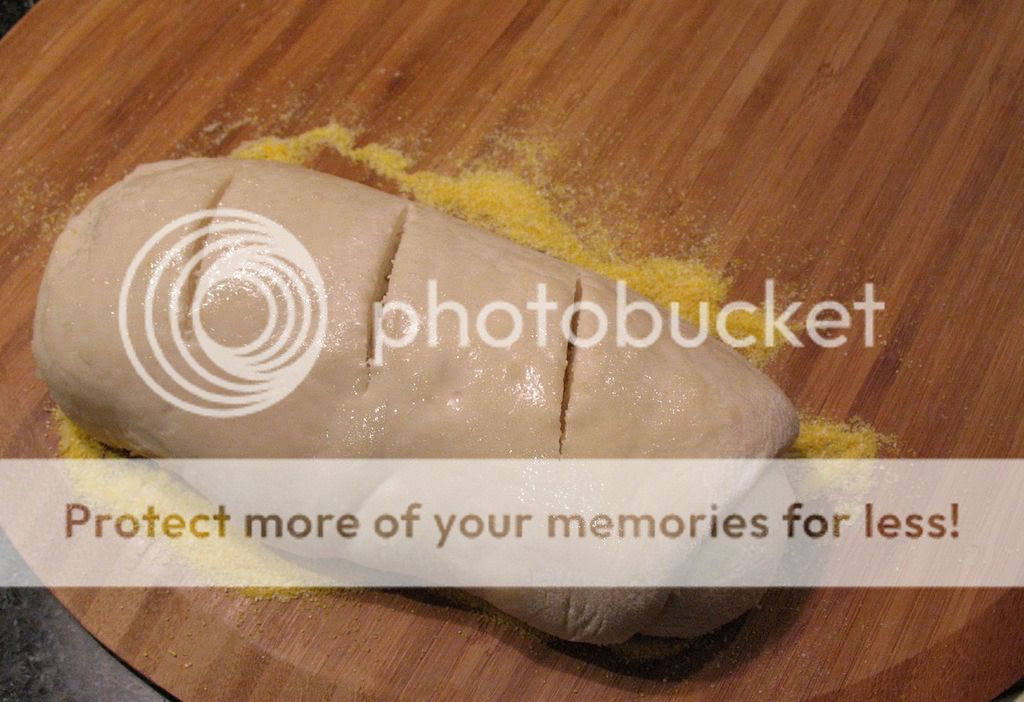
3. Brush the dough with olive oil and sprinkle with cheese. Starting from the short end, roll the dough into a log and gently tuck the ends under to form an oval loaf. Allow to rest and rise on a cornmeal-covered pizza peel for 1 hour (or just 40 minutes if you’re using fresh, unrefrigerated dough).

4. Twenty minutes before baking tiem, preheat the oven to 450, with baking stone placed on the middle rack. Place an empty broiler tray on any other shelf that won’t interfere with the rising bread.

5. Brush the top of the dough lightly with olive oil and slash parallel cuts across the loaf, using a serrated bread knife.

6. Slide the loaf directly onto the hot stone. Pour 1 cup of tap water into the broiler tray, and quickly close the oven door. Bake for 30 to 35 minutes, or until deeply browned and firm.

7. Allow to cool before slicing and eating.

Artisan Bread

Thursday, December 11th, 2008

I love bread.

Despite my love of bread, I did not try making it until I found this recipe. There was something intimidating about working with yeast (silly, I know) and I didn’t want to deal with hand-kneading bread for several minutes. Last winter, I stumbled upon a review for Artisan Bread in Five Minutes a Day by Jeff Hertzberg and Zoe Francois in the Boston Globe. Easily creating crusty no-knead artisan bread at home with a bowl and spoon? I was sold!

The central idea behind Artisan Bread in Five Minutes a Day is that “Pre-mixed, pre-risen, high moisture dough keeps well in the refrigerator.” Initially mixing the dough takes about 10 minutes or less and shaping/baking a loaf only requires 5 minutes of attended preparation time.

The book contains several dough recipes, and each of these recipes can be shaped into different kinds of loaves or enhanced with additional flavors. So far, I have only used the Master Recipe to make a basic boule. The loaves I have baked have a nicely crackled crust and an airy, moist interior.

I follow the Master Recipe quite closely. While the recipe calls for unbleached flour, I often use bleached flour because that is what I usually have on hand. It’s worth noting that book suggests using the scoop and sweep method to measure flour: gently scoop the flour and level with a knife or spatula – don’t press down. I also shape my dough into an oblong loaf, as opposed to a boule.

The Master Recipe makes enough dough for 4 1 pound loaves of artisan bread. The book claims that the dough can be refrigerated for up to two weeks, but it hasn’t lasted that long for me. For this reason, I usually halve the recipe and only make 2 loaves.

I’ve found that the dough is lighter and airier if you allow it to rise for 3-4 hours. It’s much easier to work with the dough if you refrigerate it for several hours before shaping a loaf. Regardless of when you handle the dough, it is sticky. I make sure to remove my rings and sometime spray some cooking spray on my hands.

The recipe suggests using a pizza peel coated in corn meal to move the dough into the oven. I have found that a rimless cookie sheet coated with a generous coating of flour works fine. Corn meal does make the transfer easier, but I’ve just started using it recently. While the recipe suggests working dough by hand, it’s also possible to mix it using a stand mixer.

The master recipe from Artisan Bread in Five Minutes a Day is available online, but the book goes into much more detail and provides a number of other recipes. I highly recommend it!

Artisan Bread in Five Minutes A Day: Master Recipe

Makes four 1-pound loaves

3 cups lukewarm water (about 100? F)
1 1/2 tablespoons granulated yeast (1/2 tablespoon = 1 1/2 teaspoons)
1 1/2 tablespoons kosher or other coarse salt
6 1/2 cups unsifted, unbleached all-purpose white flour
Cornmeal for the pizza peel

1.In a 5-quart bowl, mix the yeast, water and salt. Add all the flour, then use a wooden spoon to mix until all ingredients are uniformly moist. It is not necessary to knead or continue mixing once the ingredients are uniformly moist. This will produce a loose and very wet dough.

2.Cover with a lid (not airtight). Allow the mixture to rise at room temperature until it begins to collapse, about 2 hours, but no more than 5 hours.

3. After rising, the dough can be baked immediately, or covered (non completely airtight) and refrigerated up to 14 days. The dough will be easier to work with after at least 3 hours refrigeration.

4. On baking day, prepare a pizza peel by sprinkling it liberally with cornmeal to prevent the bread from sticking when you transfer it to the oven. Uncover the dough and sprinkle the surface with flour. Pull up and cut off a 1-pound (grapefruit-size) piece of dough (serrated knives are best). Store the remaining dough in the bowl and refrigerate for baking at another time.

5. Hold the mass of dough in your hands and add a little more flour as needed so it won’t stick. Create a smooth ball of dough by gently pulling the sides down around to the bottom, rotating the ball a quarter-turn as you go. While shaping, most of the dusting flour will fall off. The bottom of the loaf may appear to be a collection of bunched ends, but it will flatten out during resting and baking. Shaping the loaf this way should take no more than 1 minute.

6.Place the dough on the pizza peel. Allow the loaf to rest for about 40 minutes. It does not need to be covered. The bread may not rise much during this time.

7. Twenty minutes before baking, place a pizza stone on the center rack of the oven. If you don’t have a baking stone, use another baking sheet. Remove any upper racks. Place a broiler pan on a rack below the pizza stone or on the floor of the oven. Preheat oven to 450 F.

8. When the dough has rested for 40 minutes, dust the top liberally with flour, then use a serrated knife to slash a 1/4-inch-deep cross or tic-tac-toe pattern into the top.

9.Slide the loaf off the peel and onto the baking stone. Quickly but carefully pour 1 cup of hot water into the broiler tray and close the oven door.

10.Bake for about 30 minutes, or until the crust is nicely browned and firm to the touch. Allow the bread to cool completely, preferably on a wire cooling rack.

Subscribe
Email Registration  Email
  RSS
Recipe Sites
  • All Recipes
  • Cooking Light
  • Epicurious
  • Food Network
Archives
Sitemeter
Blog Directories
Add to Technorati Favorites